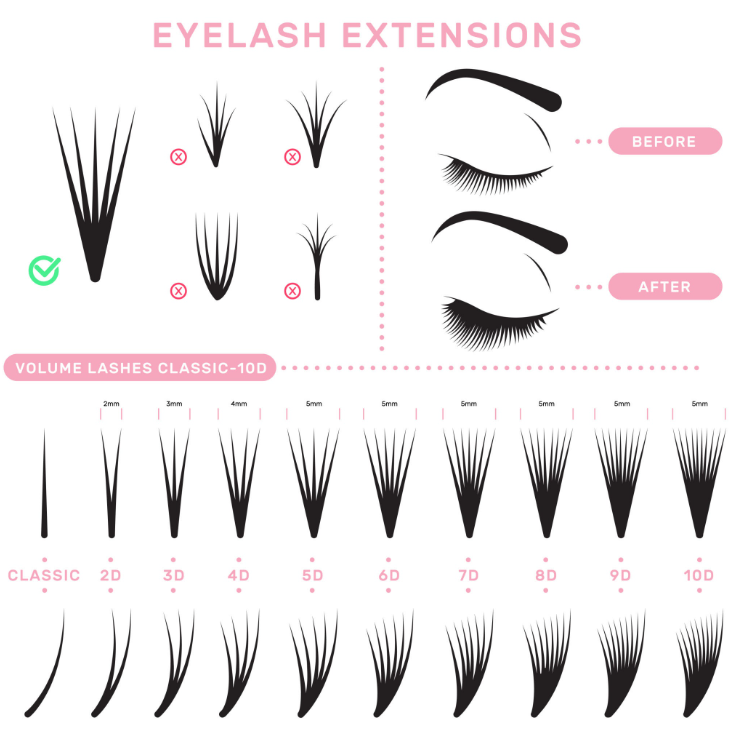
Do you want captivating, bright eyes for a stage performance or an important event, but worry that dense false lashes might look too fake? Don't worry! By skillfully using cluster false eyelashes with a clever technique of "sectional layering" and "length variation," you can absolutely create a stage effect that is dense yet natural, full of dimension, and captivating!
The Secret Weapon for a "Natural Stage Look"
Stage makeup requires maximum eye enlargement, and the advantage of cluster lashes is their ability to precisely control the density and length, much like professional extensions. This results in an effect that is layered, expressive, and full of life.
-
For the Inner Corner, the Shortest length, around $8$mm to $9$mm, should be selected. The purpose is to achieve a natural transition, keep the gaze bright, and prevent the lashes from weighing down the eyelid. The density in this area should be Sparse/Minimal.
-
The Center (C-Zone), or the central part of the eye, should use the Longest lengths, typically $12$mm to $14$mm. This is to emphasize the spherical shape and is the core area for magnifying the eye. The density here can be Medium or Most Dense.
-
For the Outer Corner (J-Zone), choose a Medium-Long or Next Longest length, such as $10$mm to $12$mm. This helps elongate the eye shape and create a sultry or winged "cat-eye" effect. The density in this area is Medium.
Beginner-Friendly Step-by-Step Application Guide
Step 1: Prep and Prime Your Natural Lashes
-
Curl Your Natural Lashes: This is key for a seamless blend! Use an eyelash curler to segmentally curl your natural lashes (root, middle, tip) to match the curvature of the false lashes.
-
Apply Mascara Primer/Mascara: Apply a thin coat of mascara or primer to slightly thicken your natural lashes, providing a stronger anchor point for the clusters.
Step 2: Apply the Adhesive (Bonder/Glue)
-
If you are using professional DIY Cluster Lash Glue (Bonder): Gently brush a thin layer onto the middle $1/2$ of your lash roots.
-
If you are using traditional Strip Lash Glue: Squeeze a small amount onto the back of your hand or a tray. Use tweezers to pick up the base of the cluster and dip it into a small, even amount of glue.
Step 3: Start Application at the Core Area (Center)
-
Start with the Longest Length in the Center: Identify the longest section directly above your pupil. Use tweezers to pick up the longest clusters (e.g., 14mm) and apply the central 2-3 clusters first.
-
Placement Technique: Gently separate your natural lashes and place the base of the cluster underneath your natural lash (Note: place it on the lash fiber, not the eyelid). This technique ensures the band is invisible from the front, achieving the most natural look.
-
💡 Tip: Keep your eyes looking down while applying for a clearer view of the lash line.
-
Step 4: Extend to the Inner and Outer Corners
-
Outer Corner Extension: Following the eye shape, apply the next longest clusters (e.g., 12mm) towards the outer corner. Apply them slightly denser and extend slightly past the outer corner to elongate the eye shape.
-
Inner Corner Transition: Apply the shortest clusters (e.g., 8mm/9mm). Keep this area sparse for a natural blend; avoid applying too close to the inner tear duct to maintain comfort.
Step 5: Fuse and Seal (Sealer)
-
Crimp and Fuse: Use the professional applicator or tweezers to gently crimp and hold the false cluster together with your natural lash for 3-5 seconds, ensuring a tight bond and uniform direction.
-
Seal and Set: Apply a thin layer of Sealer to the bond line and mid-shaft of the lashes. This product neutralizes the stickiness of the glue and helps the lashes set for long-lasting wear, boosting their "wind-resistance" for the stage!
By following this "Short-Long-Medium-Long" length principle and utilizing the "underneath the natural lash" placement technique, you can easily achieve a dense, layered, and naturally captivating look perfect for the stage!

